Outrider Seven Deadly Sins Hikari to Yami no Grand Cross.
thanks to Jérémy#6882 for this guide.
How to start well on the Seven Deadly Sins game:
Beginning:
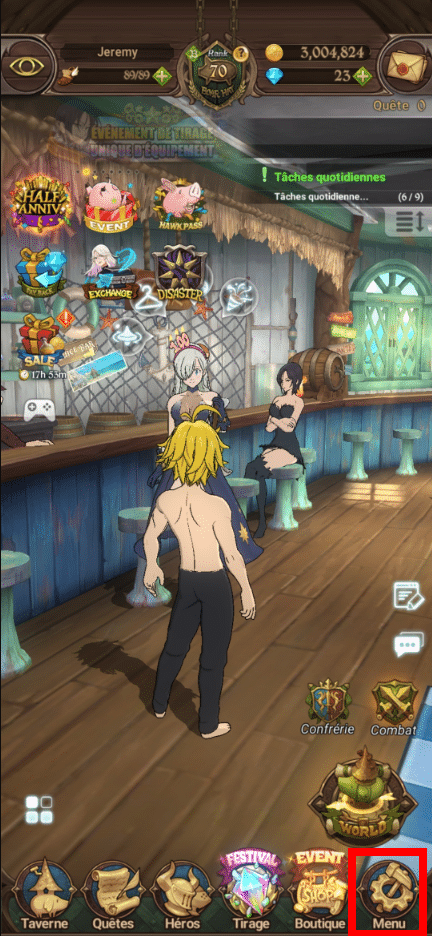
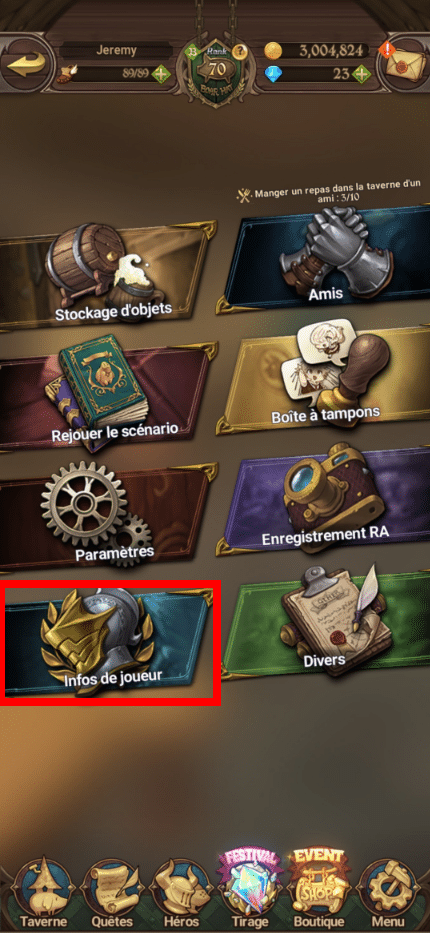
To start the game in the best possible way, it is advisable to reroll until you get top-tier characters such as Red Derrierie or Green Escanor by summoning on the portal in part 2. The Red Gowther, which is given free of charge after one month, will help you a lot in all game modes. To reroll quickly, there is a “fast reroll” technique: Menu -> Player Info -> Reset Data.

Example of a good reroll: (escanor vert and meliodas lostvayne).
Characters:
There are several ways to build a character, improvement, development, awakening, “limit break,” ultimate move, equipment, and cosmetics.
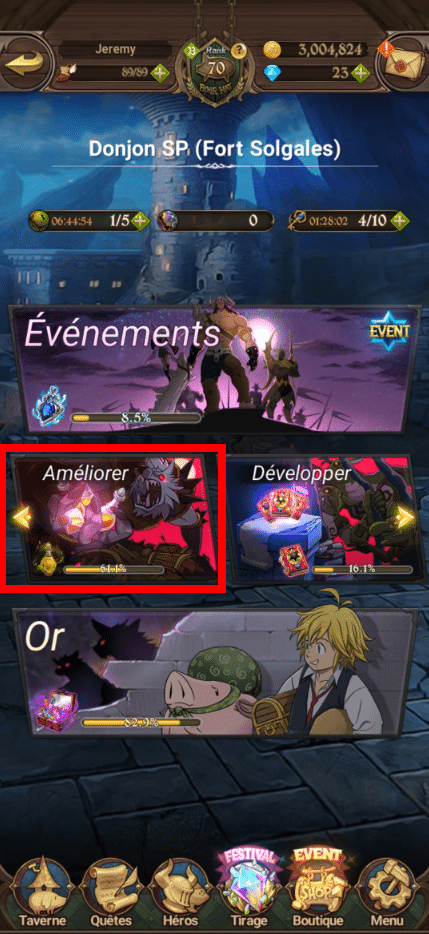
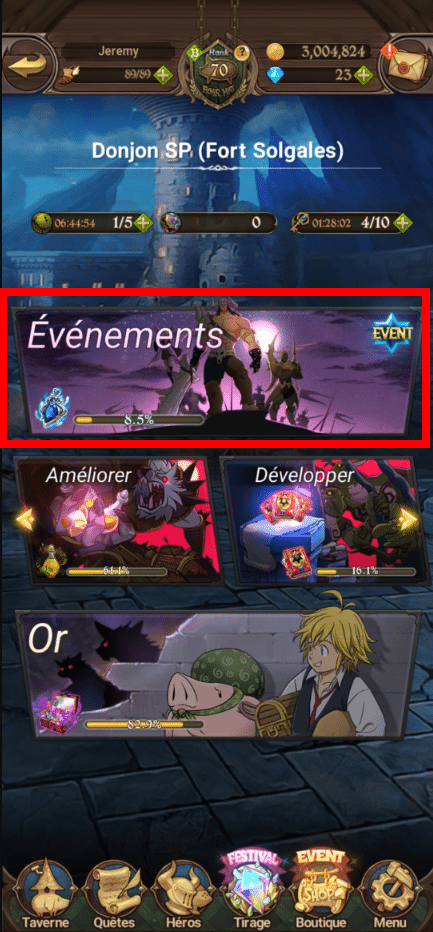
Upgrades are made using potions that can be farmed in Fort Solgales (available in Chapter 1) in the “Upgrade” section. It is advisable to farm the red levels as they are easier, but it is possible to farm all 3. Potions can also be farmed in ”Events” then “Upgrade.” (more complicated but more generous levels).
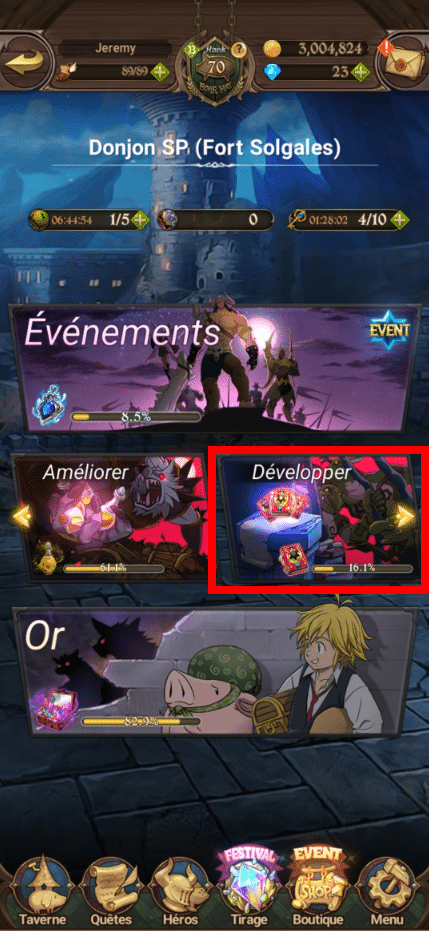
Development requires two things: Books (blue for blue characters, etc.) and pendants (r for native r characters, sr for native sr characters, and ssr for native ssr characters). Books are mainly farmed in the “development” section. At the beginning, you need to complete the levels for each rarity (if you need blue books, you farm the blue levels, unlike in Improvement). Pendants can be farmed either in story mode, in Fort Solgales (Events then one of the three categories, it doesn't matter which), or in the coin shop (we'll come to that later), but buying them in the coin shop is not recommended. When you develop a character, they pass level 1 but gain stats.
Awakening consists of materials that can be farmed in each village (6 villages in total, 1 village per star). They can be farmed in free levels or boss battles, at the same time as equipment. To farm awakening and gems more quickly, it is strongly recommended to farm all the quests in each village (30 diamonds when they are all completed for a village and quite a few awakening materials). It is therefore advisable to farm village quests at the same time as story mode.
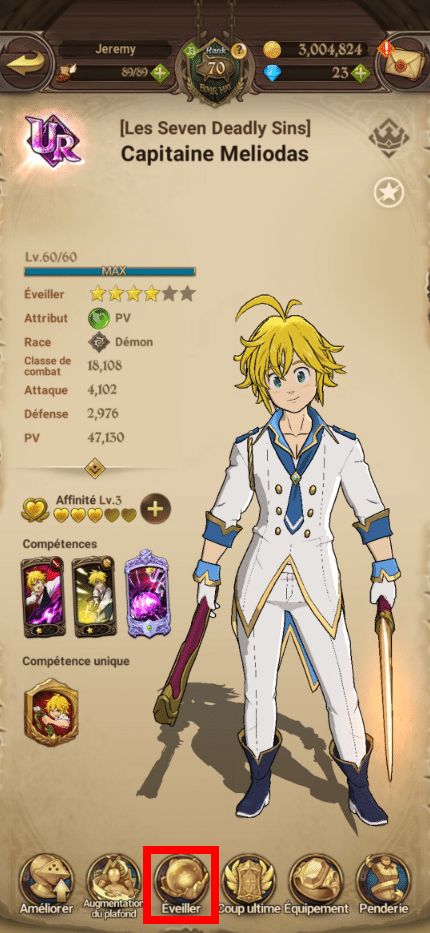
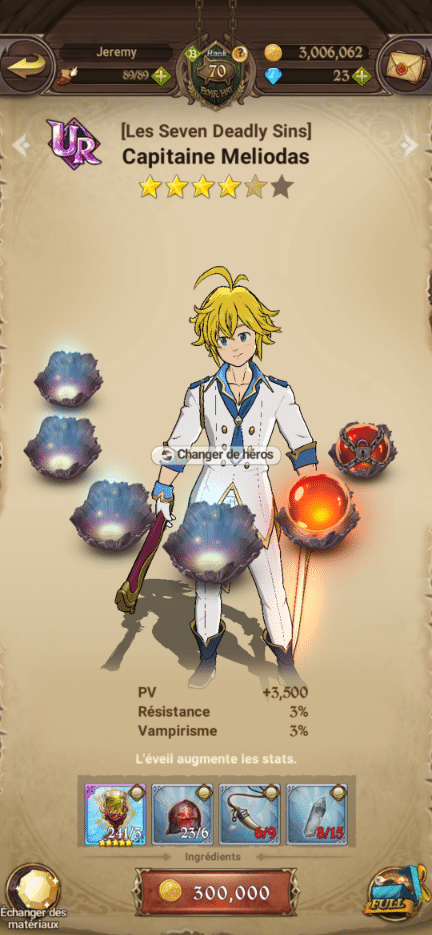
The “limit break” consists of raising a UR character from level 60 to 65, then 65 to 70, then 70 to 75, and finally 75 to 80. You will need pendants (see above for how to farm them) and demon materials, which can be obtained in battles after filling the battle gauge in boss battles. We will look at the recommended teams a little later.
The ultimate move improves when you summon duplicate characters.
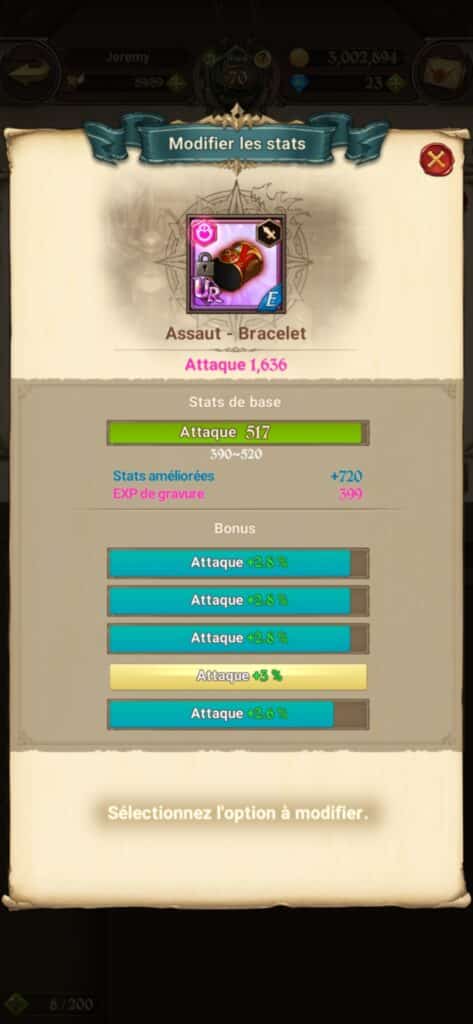
Equipment is an integral part of the game, as it allows you to significantly boost your teams' stats. It can be farmed or purchased. The most commonly used sets are 4 attack pieces, 2 defense pieces, 4 HP pieces, and 2 defense pieces, but for certain game modes or characters, there may be variations (Jericho in full critical damage). It is possible to upgrade this equipment with farmable red stones by recycling bad equipment with Diana at the end of Chapter 2. The most interesting pieces are farmed in the first 3 chapters: attack in Chapter 1, defense in Chapter 2, and HP in Chapter 3. Critical damage equipment can be obtained by purchasing it in the PvP shop or by dropping it in PvP chests. When they are +5, the pieces can be awakened using blue stones, which can also be farmed by recycling equipment. Items can be awakened up to level 5. Awakening unlocks a substat, which can be modified. Generally, you will want to look for attack on the bracelet and ring, defense on the necklace and earrings, and HP on the belt and rune. Substats can be changed using anvils available as rewards from the boss guild, or diamonds for SR and SSR equipment, or anvils and gold for C, UC, and R equipment (which is why it is advisable to upgrade them to start with, as substats must be rerolled with gold). Never assemble SR parts; it's a waste. For ssr parts, it's important to look for parts with good basic stats (important for upgrading equipment to ur (training cave guide later)). When dropping ssr parts, replace the r parts with the correct ssr parts. I recommend either replacing the entire left-hand column with ssr, i.e. belt, rune, bracelet and ring, to gain maximum stats.
Example of a good part: (Good base stat and good substats)
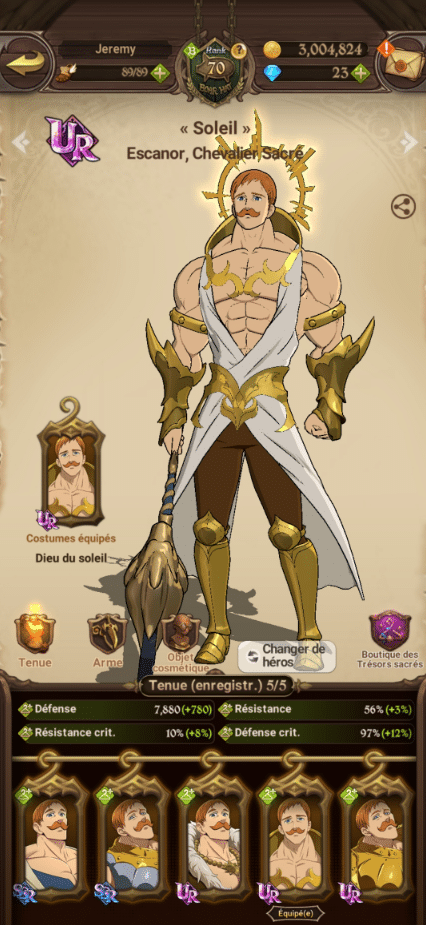
Cosmetics increase character stats. They are available in the PvP store or the Sacred Treasures store, and you can register up to 5. Only take UR cosmetics, mainly headgear, then weapons, and finally outfits (HP>ATT>DEF). SSR cosmetics come from character affinities that can be increased with food. You can only save 5 outfits, 5 weapons, and 5 headgear items.
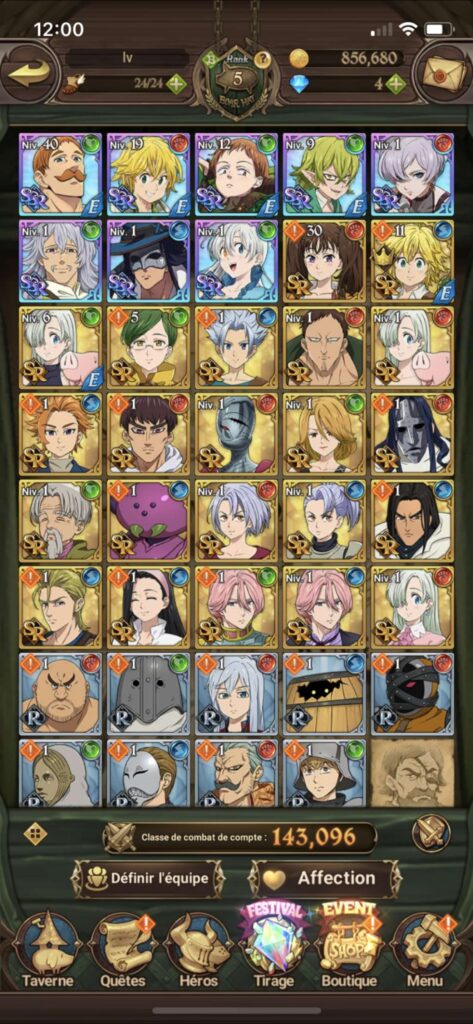
All this contributes to raising the Hero Combat Class (or cc).
To discover the characters. We can now also play the game on PC using LDPlayer for a smoother experience and better image quality in the game.
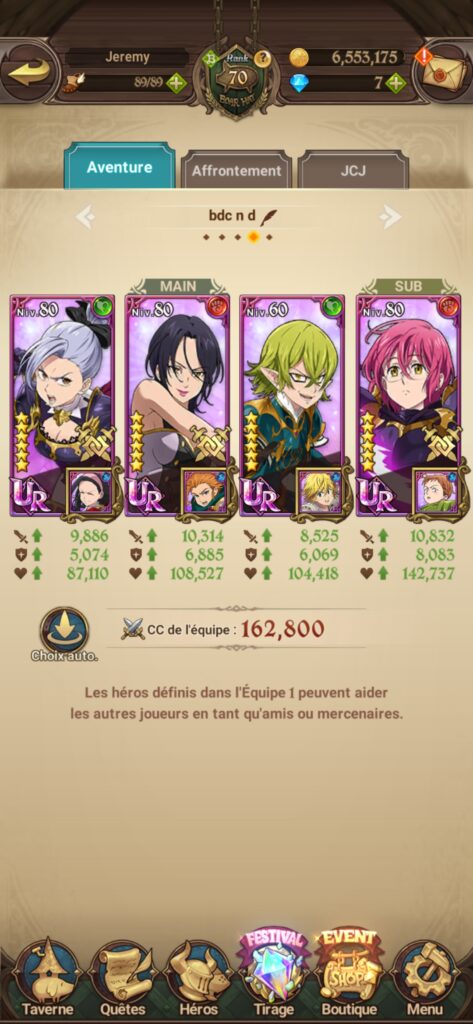
Teams:
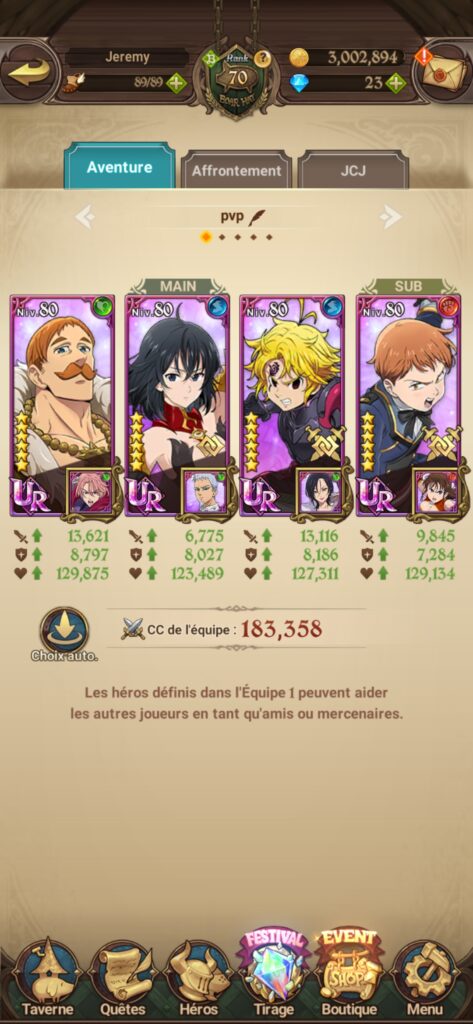
A team consists of four characters: three mains and one sub. The three mains are active in combat, while the sub steps in when a main dies. There are usually one or two DPS characters and/or two support characters. The sub is generally there for their passive abilities.
Example of a balanced team: (2 DPS Escanor Green and Meliodas Demon Blue, one support Lilia Blue, and one sub King Red who reduces opponents' penetration with his passive skill).
Demons :
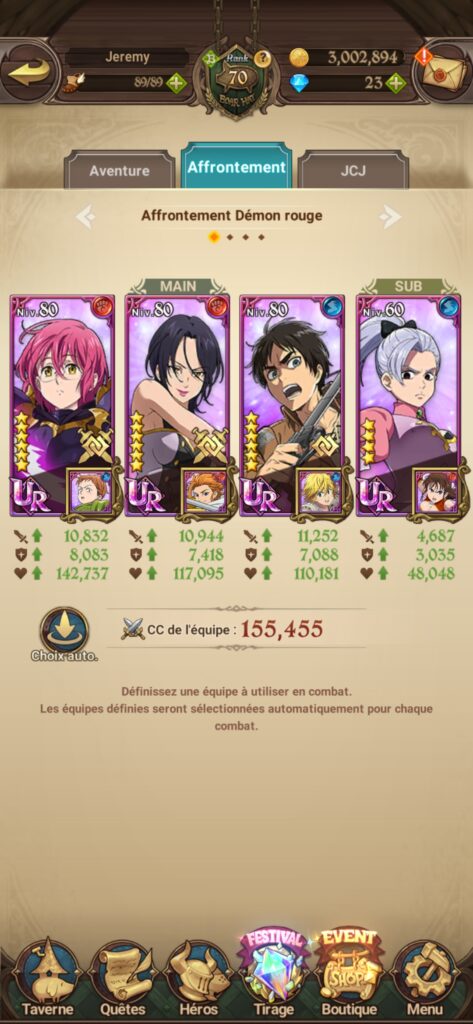
There are three demons in the game: the red demon, the grey demon and the crimson demon.
For the red demon, you will need a freezing unit (red Merlin or green Gustav SR), a DPS (blue Slader, Eren SR, blue Ban Nunchaku, red Elihawk, blue Arthur SSR), and red Gowther. Use blue Jericho or Cain SR as a sub, depending on your DPS. The tactic is simple: you or your ally must have a 2* boost from Gowther. When it is played, the other player must play a 1* (all your cards will then become 3*). Then, all you need to do is play a 3* freeze card and a DPS attack to clear the phases (the first will usually be done before Gowther's boost).
Example of a team for a red demon: with gowther hp def merlin rouge att def and eren att def
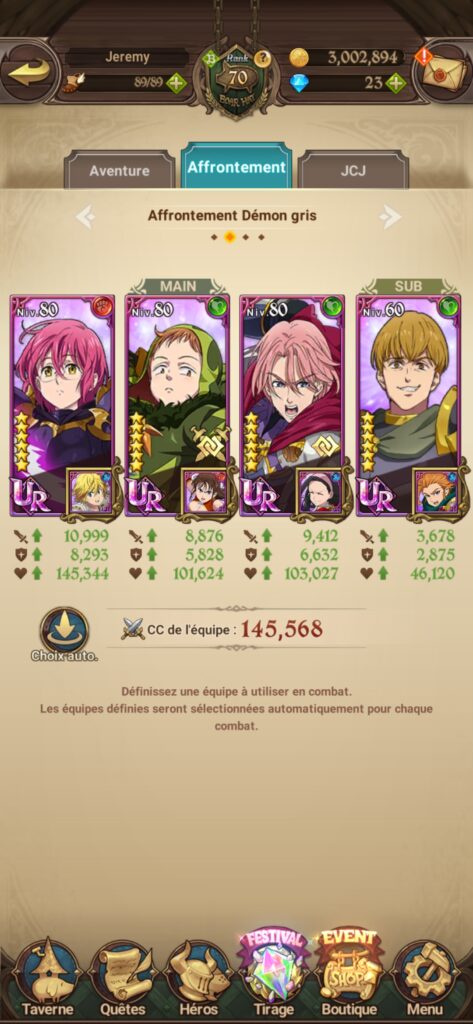
The gray demon is also relatively simple. All you need is a team made up of king vert (dps), gowther (up cards) and hellbram or gilthunder sr vert (buffer, if your ally has hellbram put gil and vice versa) and alioni in sub. Then, as soon as you have the gowther 2* boost, you'll need to use the 2 boosts, then boost with hellbram and gilthunder before killing the 2 phases of boss with king vert.
Team example for the grey demon: with gowther in hp def, king in full crit damage or att crit damage (substats crit damage (7) and attack (3))
The Crimson Demon is the most complicated of the three for an inexperienced player: you will need a DPS (Red Derrierie, Red Meliodas Demon, Red Escanor), Red Gowther, Arthur (boost and immunity to penalties), and Red Jericho as a sub. The tactic is the same as for the other demons: you need Gowther's 2* boost, then reboost to get all the 3* cards. You then need to use Arthur's 3* boost for immunity to penalties and the stat boost. Next, save your special attacks for phase 3: phase 1 is fairly easy, phase 2 should be cleared with DPS cards (if it's Meliodas, don't use “burn” cards), and phase 3 is cleared with ultimate attacks (if Meliodas is present, use as many burns as possible before using special attacks).
Team example for the crimson demon: with gowther hp def, meliodas att def, arthur hp def

For hell demons, the difficulty comes from the fact that you only need to use counter types against the demon: red demons only blue characters, grey demons only green characters, and crimson demons only red characters.
For the red demon, you need one or two characters who can remove the posture skills (blue ban nunchaku, eren sr, slader etc).
Team example for the red hell demon: (with ban att def, king hp def, eren att def)
For the gray demon in Hell, the technique remains the same: maximize your critical hit chances with King and prepare as much as possible for phase 2. In phase 2, use the maximum attack point and King's special ability. Don't hesitate to buff with Hellbram or Gil. Valenti allows you to tank by reducing the demon's piercing (replace with Green Elizabeth if you don't have it).
Example of an effective team against the gray demon in hell: (with gil hp def valenti hp def but substats resistance on collar and buckles and king full critical damage).
The Crimson Demon is the easiest in Hell mode, and the technique remains the same as in Normal, Hard, and Extreme modes.
Example of an effective team in crimson hell: (with meliodas att def, gowther hp def arthur hp def).
Training cellar:
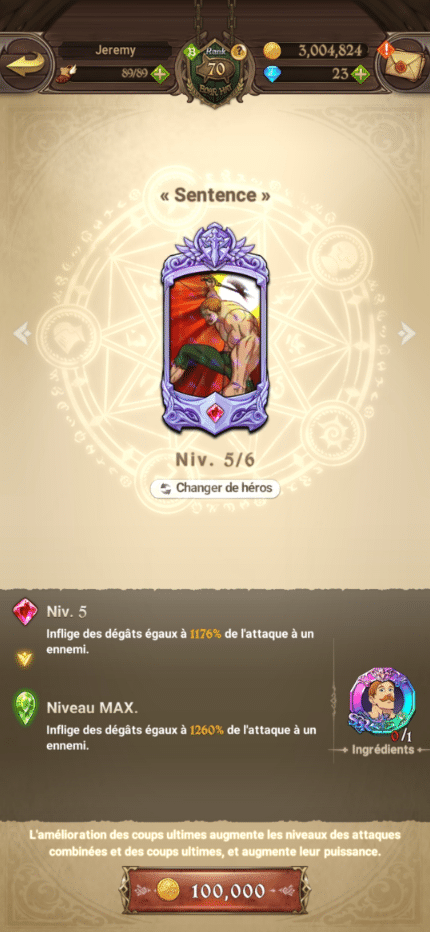
Available from Chapter 8 onwards, the training cave provides hammers (increases the percentage of a substat without changing it) and engraving stones. Engraving stones allow you to upgrade 5*+5 SSR equipment to UR. UR equipment is only for one character (e.g., engraved stuff for Escanor, red and green Escanor will have the engraving stat buff).
Example of an engraved piece:
All the teams for each boss of level 3 of the training cave:
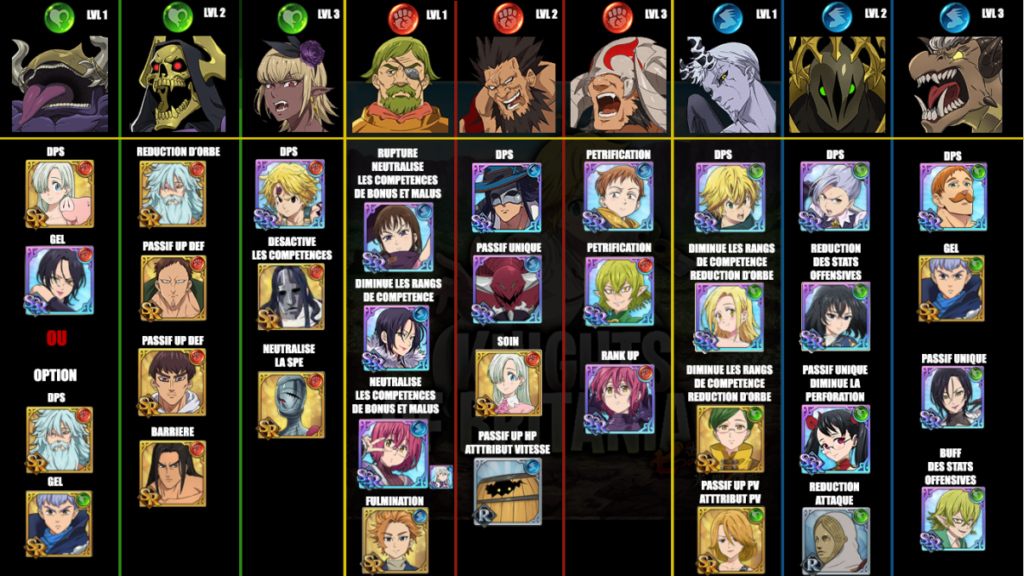
Image from the Knight of Britannia discord.
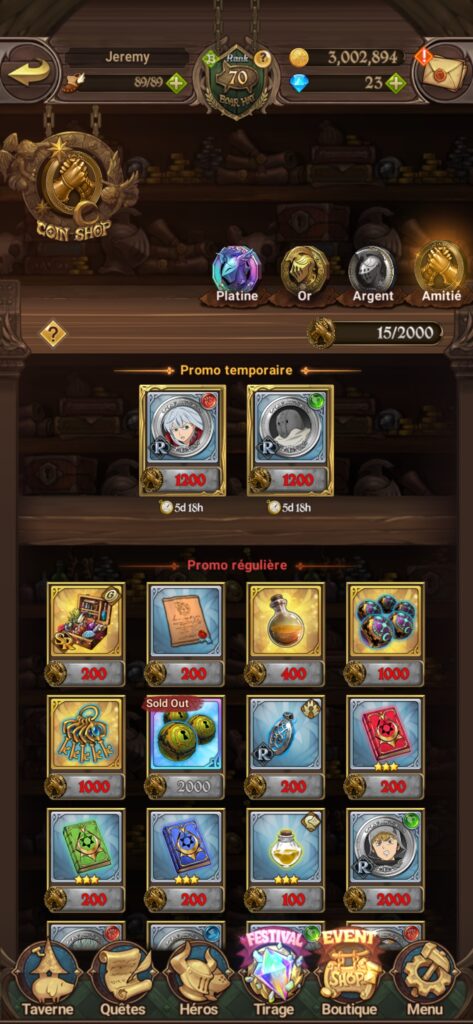
Coin Shop:
Duplicate R coins can only be used to purchase stamina potions.
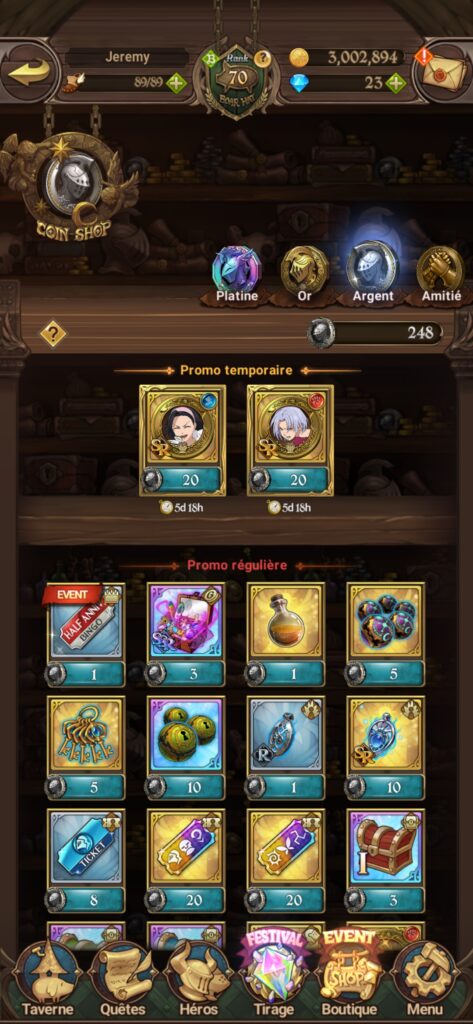
SR duplicates can only be used to purchase SSR duplicates.
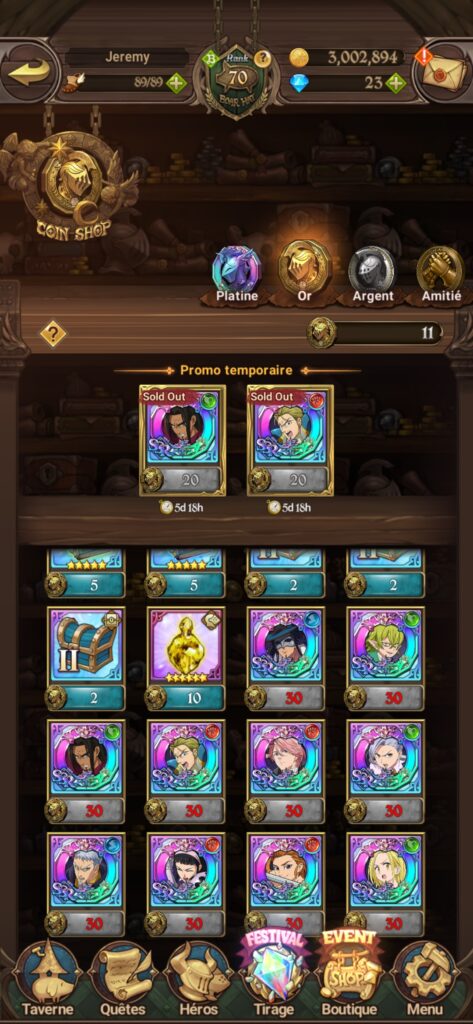
SSR duplicates are only used to purchase character duplicates from the coin shop (in reduction).
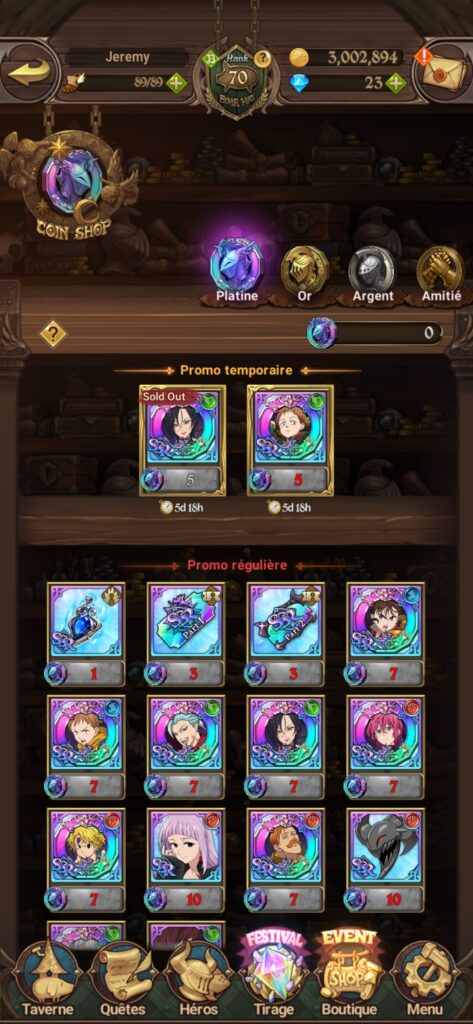
Duplicate friendship tokens can be used to purchase Solgales Dungeon key sets, stamina potions, or PvP passes.
pvp: (Chapter 4)
For PvP, it's important to climb as high as possible in normal PvP to earn the maximum number of weekly diamonds possible. You will face a lot of bots up to Master 5, so climbing is fairly easy. In normal PvP, equipment stats do not count, which greatly reduces pay-to-win. Elite PvP (available from Gold rank in normal PvP) with equipment stats is much less accessible than normal PvP; even in Gold V, it is very difficult to climb.
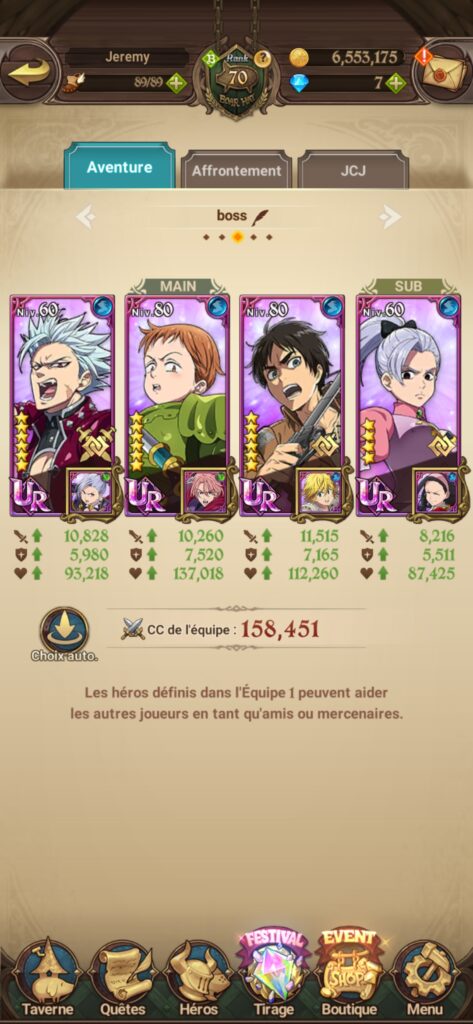
Brotherhood boss :
Unlike many game modes, for the Brotherhood boss all 4 characters act at the same time. There are two Brotherhood bosss, Kelak and Einek.
For Kelak, there is a team for all three difficulties. The goal is to do as much damage as possible. You need to combine a 2* Merlin freeze, a 2* Hellbram boost, a 3* Gowther boost, and Jericho's special. Once you've done that, use the Gowther boost, then the Hellbram boost, then the Merlin freeze, and finally Jericho's special. Keep trying until you land a critical hit.
Team recommended for kelak: (with jericho full crit damage, merlin rouge att def, hellbram ho def and gowther hp def) as well as critical damage food.
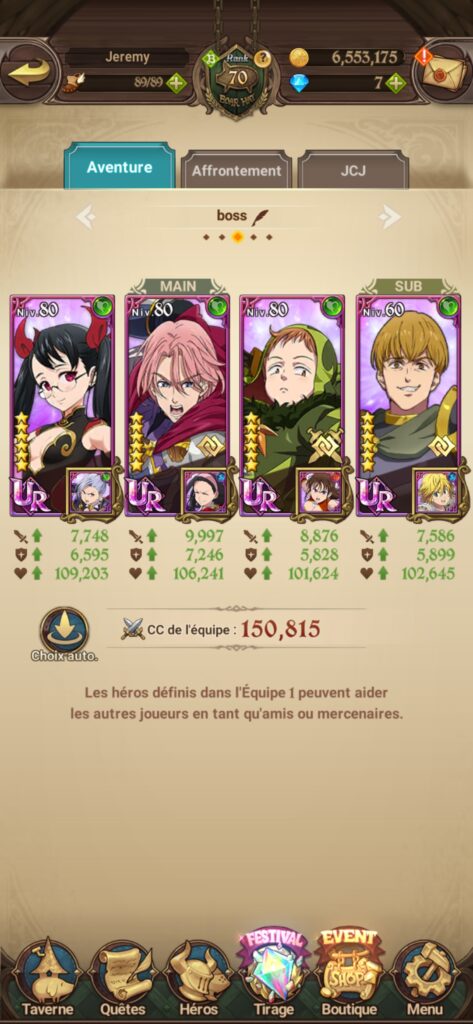
For the boss Einek, damage is only counted in the background, as HP is more important than anything else. In normal and hard modes, it is advisable to finish quickly to get the maximum HP. Simply rotate 2 Escanor cards and then play them, and activate Elihawk's green Break Def, Merlin's Ultimate Reduction, and Escanor's Special.
Example of team in normal and hard: (with escanor att def, merlin hp def jilian hp def and elihawk hp def) with food pv
For the extreme, you have to turn two green Eli cards to get his special turn 2 and the maximum special turn 3. Then you have to have the maximum special for Eli and the rest.
Team example for Einek extreme :
ssr animations:
Rainbow Arrow
Shooting stars or laser
You beat Albion
If you have Lost Vayne (Meliodas' Sacred Treasure) at the start of the summon, then counter it.
Animation Escanor 2 SSR minimum
The largest transformation guarantees a minimum SSR
If you knock it away with your first sword strike with Albion, you get at least an SSR.
Miscellaneous tips:
- Farm gold from Fort Solgales every day (Gold Dungeon or Events, then Gold).
- Call Veronica at the tavern before selling the chests in the villages.
- Save as much diamonds as possible for big characters.
- Mainly farm every other week when endurance is halved (Monday to Wednesday boss battles, Thursday and Friday free levels, and strong solgales on the weekend).
- At the beginning, you can do “night farming” in your car to earn more materials.
- Recycle your equipment during the recycling event (one week every month).
- Assemble all your characters, they will all be useful at some point (reverse stage, training cave, etc.).
Site with tierlist etc to be able to see which characters to mount in priority: Tier list 7DS