You want to assemble a $500 GAMER PC. Well, your dream is possible! With this €500 GAMER PC, you can play the latest competitive games in ULTRA 1080p. Here is the complete configuration and some assembly tips to have crazy performance with your new PC GAMER.
PC GAMER AT 500€: THE COMPLETE CONFIGURATION
Processor(CPU) |
AMD Ryzen 5 Pro 4650G |
Motherboard |
Gigabyte B450M DS3H V2 |
Graphic card |
Integrated Vega graphics |
RAM memory |
Crucial Ballistix DDR4 3200MHz 8GB |
Storage |
Kingston A400 240GB SSD + Seagate Barracuda 1TB |
Feed |
Aerocool Lux 550W 80 Plus Bronze |
Housing |
NOX Hummer Spark |
First, let's briefly explain what each of its components is used for and list the reasons why the models above have been chosen.
CPU: AMD Ryzen 5 Pro 4650G
The CPU or processor is the brain of your computer. Its function is simply to take commands of the programs you run and run them. When it comes to processors, the Intel and AMD brands pretty much dominate the market.
L'AMD Ryzen 5 Pro 4650G, a low-power, fresh and powerful processor. This processor has 12 cores (6 cores + 6 threads), a quality integrated graphics card and a frequency of 3.7 GHz in normal mode (expandable to 4.2 GHz with its turbo mode). With spectacular performance in both multi-core and single-core.
Motherboard : Gigabyte B450M DS3H V2
The motherboard is a large printed circuit board that contains and enables communication between all the essential hardware components of your PC GAMER. It has slots for your processor, graphics card, memory modules, and a whole host of other components.
When building a GAMER PC, you cannot use just any motherboard. Make sure it is compatible with the CPU before buying it. Compatibility can be determined by checking if the socket and chipset settings match your processor (CPU). These settings are often located at the Product Description/Details level of the motherboard manufacturer's or vendor's website.
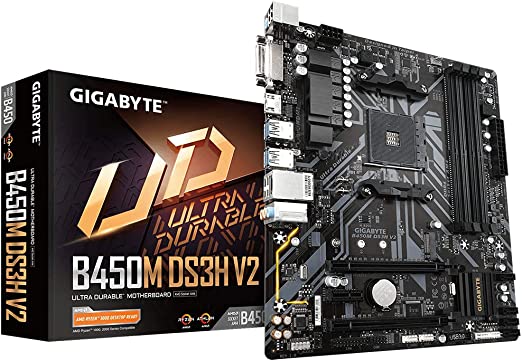
As for our choice in this assembly, of course, in terms of connectivity, it's not the greatest. But in terms of performance, BIOS, resistance to electrical surges and above all durability, it is the best choice! In addition, it has 4 ports for RAM and 6 SATA ports, basic but effective.
Graphic card : Integrated Vega graphics
The graphics card (or more specifically the graphics processing unit inside the card) is what allows your PC to render 2D and 3D graphics. The more powerful your graphics card, the sharper the textures and three-dimensional objects in your video game are to see. When it comes to graphics card manufacturers, the two most popular options are NVIDIA and AMD.
Currently, finding a graphics card at a good price, especially with a budget as limited as 500€ is an impossible mission. This is why we opted for such a powerful processor with an integrated graphics card, to dispense with the purchase of a graphics card.
RAM: Crucial Ballistix DDR4 3200MHz 8GB
RAM stands for "Random Access Memory» and refers to temporary storage on your computer. It stores the information your PC needs now and in the near future. This includes the tabs you currently have open in your web browser, the settings you have specified in your game…etc.
The benefit of having this information stored in your RAM instead of your hard drive is that it makes data retrieval much faster. So games and other apps can load and update faster.
We opted for an 8 GB DDR4 memory module to have the possibility of upgrading it with another of the same capacity in the future. In addition, this module has an ideal high frequency to get the most out of vega graphics.
Storage : Kingston A400 240GB SSD
When it comes to permanent storage, you have two options: a hard disk drive (HDD) or a solid state drive (SSD). The former is cheaper while the latter is faster.
To improve the experience in office tasks with maximum fluidity, we have chosen the Kingston A400 240GB SSD. It is true that 240 GB is not a lot of storage, but keep in mind, to buy an exclusive hard drive for this task. So with the SSD you will simply install the operating system and some programs or games.
The Kingston A400 is a very fast solid-state drive that offers enviable read and write speeds and all at a very affordable price. Note that if you can afford to spend a little more you can choose the 480 GB.
Secondary hard drive: Seagate Barracuda 1TB

Thanks to this formula, you benefit from an exclusive SSD for the operating system and a hard disk dedicated to storage. Which gives you two things:
- Greater space optimization , 1TB to store whatever you want.
- More security , if the SSD fails or for some reason you are forced to format your PC, the files on the storage hard drive will still be there, as if it were an external hard drive.
Feed : Aerocool Lux 550W 80 Plus Bronze
The power supply is what will keep all of our components powered up. When buying a power supply, you need to make sure it isn't too big for your case.
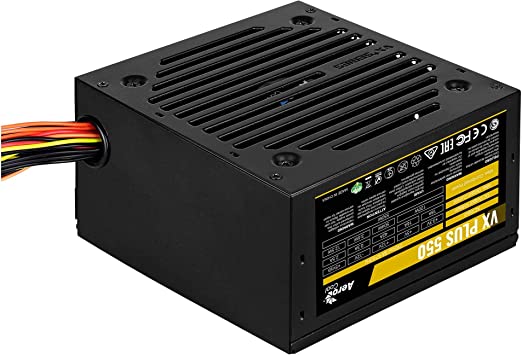
However, with the choice of power supply model, do not save! Because this is the real problem that people are complaining about day after day on the forums. In truth, buying a cheap power supply that can fail at any time costs twice as much as buying a quality power supply. This is why in this assembly of PC Gamer at 500 €, we left with the power source Aerocool Lux 550W 80 Plus Bronze.
The box : NOX Hummer Spark
The case is what will hold all of our components together. Case sizes correspond to different motherboard form factors: ATX, mini-ITX, and micro-ATX.
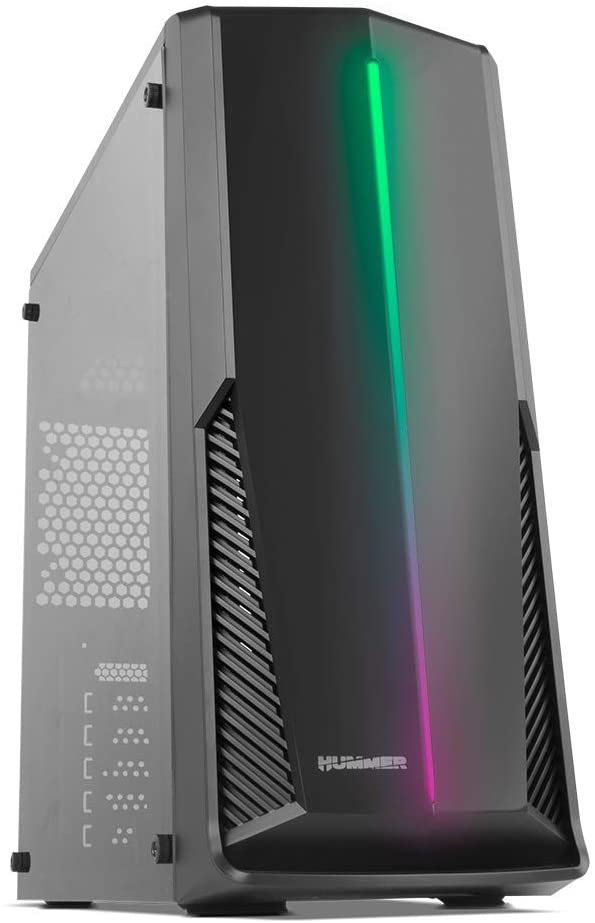
The question of the choice of case is something personal. You just have to choose what you like the most according to the design and our budget of 500€. However, be aware that for this assembly we opted for the box NOX Hummer Spark.
GAMER PC ASSEMBLY AT 500€ STEP BY STEP
Now is the time to start filling your PC case with all your shiny new components. Additional hardware level, you just need a magnetic Phillips screwdriver or an electric model.
Step 1: Install the processor
get out the motherboard gently and lay it on its antistatic packaging. Lift the lever on the side of the processor socket and drop your processor into the socket. Then gently close the lever. However, be careful not to orient your processor in the wrong way. In addition, there is a triangular key next to the socket and on the processor to help you.
Step 2: Secure the motherboard in the case
With the manual for your box, locate the location and the fixing points of each element. Then take your motherboard, put its precise location in the case and gently screw each fixing point of the motherboard using the magnetic Phillips screwdriver.
Step 3: Install RAM
Since we opted for a processor with an integrated graphics card, then just proceed to install the 240 GB RAM.
To do this :
- Locate ports 1 and 3 using the motherboard manual and place the two dual channel bars there. In addition, the RAM is equipped witha notch to match that of the input slot to help you position the bars in the right direction.
- Gently push the two bars in with your hand until you hear a “click”, which means the bars are properly fixed.
Step 4: Put the SSD and the internal hard drive in their holder
Using the case manual, locate the specific supports for the SSD and the internal hard drive. Then, remove your SSD and your internal hard drive from their packaging in order to put them in their respective support. Thereafter you will just have to screw or stabilize the supports in their location. You have a CD/DVD/Blu-ray burner drive, just follow the same process.
Step 5: Place the Power Supply in the case
Its location is often at the bottom of the case (see Case manual in case of problems). You just have to take your Power Supply out of the box, put it in its dedicated location and screw in its fixing points.
Step 6: Connecting the cables
Connecting the cables is the last and most important step. You need to connect your cables well and organize them well, if you want your PC GAMER to work. Your ally, the manuals of each component, even the experts in the field use it, to be able to make the connection correctly. The process is a little difficult but with a little application you will get there!