Premiere Pro is an editing software that allows you to design different types of video. At render time, you can change the quality, format, and dimensions of the video to fit any media. For example, you can choose the format that is suitable for TV media, telephone media, etc. This software is handy for videographers. In this article, let's discover together how to change the dimensions of a video on Premiere Pro?
This explanatory video explains in more detail the steps to follow to change the dimensions of a video on Premiere Pro:

How to change the dimensions of a video in Premiere Pro?
Here are the steps to change video dimensions in Premiere Pro easily:
- First, go to the application from your computer;
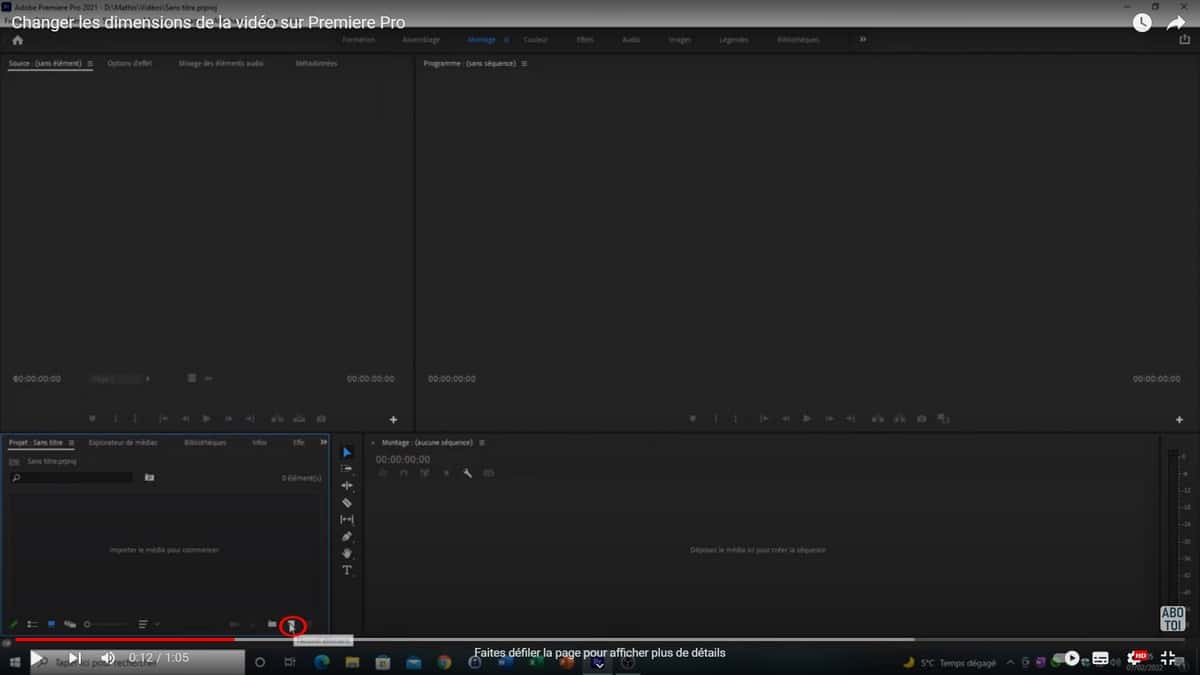
- Click on the small new item icon at the bottom of your screen;
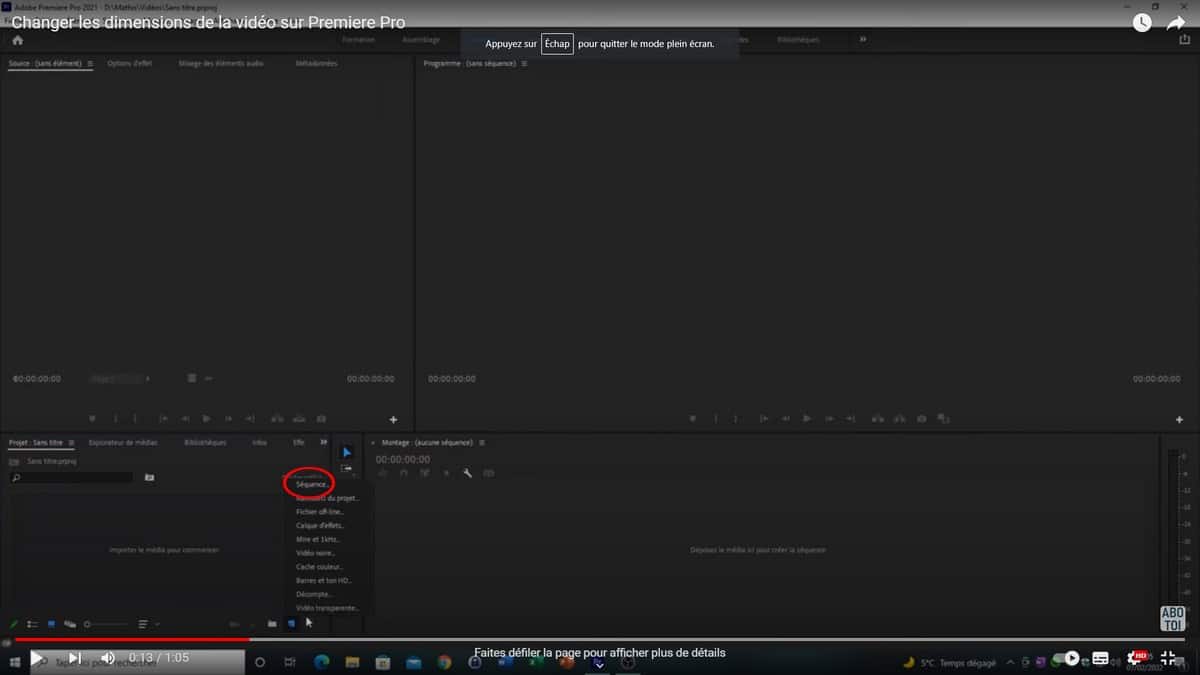
- Then select Sequence;
- Then, go to Settings to change the size of the image;
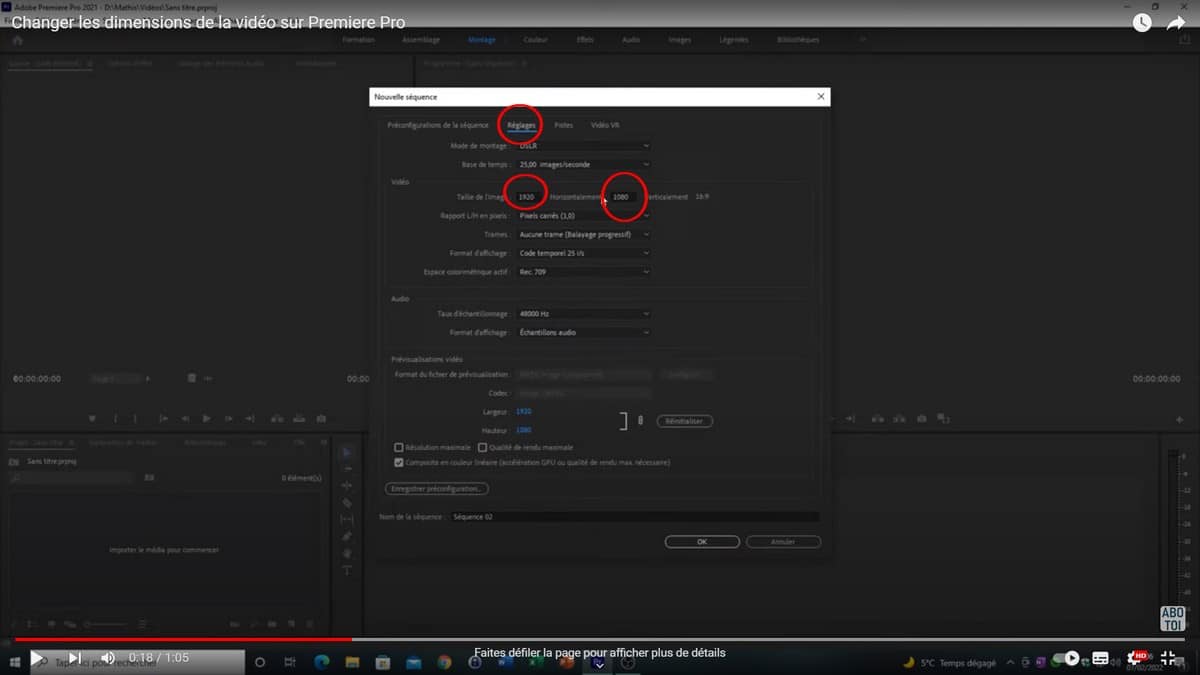
- For information, the default proportions are 1920*1080, this is the format for computer or TV screens;
- Then resize the image according to your support;
- Click Ok to confirm your actions.
You will now see that your video has been successfully resized. You can start editing according to your rushes and the rendering you expect.