Each moon of Lethal Company has its own rules: wildlife, level of danger, loot, weather, and interior layout.
The principle is simple: the more dangerous a moon is, the greater the loot you collect.
This guide provides details on each moon, starting with the free one Gordion up to the ruthless Titan.
| Moon | Level | Danger | Scrap | Details |
|---|---|---|---|---|
| Gordion | – | Safe | – | Headquarters where the adventure begins and ends. |
| Experimentation | 1 | B | 8-12 | Atmosphere arid and foggy, a few mutant species. |
| Assurance | 1 | D | 13-17 | Diverse wildlife of territorial creatures. |
| Vow | 1 | VS | 10-13 | Lush vegetation which is home to fearsome predators. |
| Offense | 2 | B | 14-18 | Looks like Assurance, with a more rugged landscape. |
| March | 2 | D/B | 13-17 | Large map very extensive, in a rainy climate. |
| Rend | 3 | HAS | 18-26 | Icy Moon. The Real One danger is hidden mostly on the inside. |
| Dine | 3 | S | 20-28 | Similar to Rend, even colder and more isolated. |
| Titan | 3 | S+ | 23-38 | Moon mysterious, full of resources and plunder. |
Company headquarters

The seat corresponds to the moon 71-Gordion. This is where you begin and end each adventure. The Company provides you with your ship, your equipment, and your missions from this location.
On this moon, you can sell your scrap metal and buy upgrades for your ship and your character. It's the only place completely safe in the game, with no hostile entities.
But don't let its appearance fool you. The Company remains a a mysterious and ruthless entity, who won't hesitate to send you to the most dangerous moons in the galaxy.
The value of the loot is zero: 71-Gordion serves only as a rear base.
| Moon: 71-Gordion | |
| Hazard level | Safe |
| Access Cost | Free |
| Scrap min | 0 |
| Max. scrap | Unspecified |
| Max. external power | Unspecified |
| Max. internal power | Unspecified |
| Possible weather | None |
To learn more, check out our other tips and tricks in Lethal Company and enhance your gaming experience.
Level 1 moons
These are the the most accessible moons of Lethal Company, but they are still far from being risk-free.
There, you'll encounter hostile creatures, industrial ruins, and weather anomalies.
If you're just starting out, begin by 41-Experimentation : access to it is free and its difficulty level remains low, making it ideal for learning to sail from the terminal.
41-Experimentation

41-Experimentation was abandoned after serving as test site for scientific experiments. Its atmosphere is arid and foggy, its wildlife consists of only a few mutant species.
The layout of the interior map is procedurally generated for each game. It's the perfect moon to start with, especially since it's free from the terminal.
| Moon: 41-Experimentation | |
| Hazard level | B |
| Scrap min | 8 |
| Max. scrap | 12 |
| Max. external power | 8 |
| Max. internal power | 4 |
| Possible weather | None (clear skies by default) |
220-Assurance

220-Assurance been devastated by natural disasters which have eroded its terrain.
Its wildlife consists of territorial creatures that won't hesitate to attack you if you enter their territory. The layout of the interior map remains reasonable, but the weather conditions can quickly make it harder for you to collect loot.
Always check the terminal before leaving, to check the current weather.
| Moon: 220-Assurance | |
| Hazard level | D |
| Scrap min | 13 |
| Max. scrap | 17 |
| Max. external power | 8 |
| Max. internal power | 6 |
| Possible weather | Rainy, stormy, flooded, eclipse |
56-Vow

56-Vow is damp and covered with lush vegetation, but its wildlife is ferocious.
There, you'll face fearsome predators as soon as you step outside.
Sa inner strength of 7 makes it more dangerous than it appears, especially in foggy weather, which seriously complicates navigation.
| Moon: 56-Vow | |
| Hazard level | VS |
| Scrap min | 10 |
| Max. scrap | 13 |
| Max. external power | 6 |
| Max. internal power | 7 |
| Possible weather | Stormy, flooded, eclipse, foggy |
Level 2 Moons
These intermediate moons are a step up from Level 1. They are larger, more unpredictable, and have a much denser population of wildlife. The Butin climbs up there, but also the danger.
21-Offense

21-Offense looks like 220-Assurance, but much more hostile. Its terrain is rougher, and its wildlife is more ferocious.
Inside, the spawn power reaches 12 : THE number of entities adds up quickly. The layout of the interior map can lead to some very unpleasant surprises.
Be sure to check the weather forecast at terminal before leaving.
| Moon: 21-Offense | |
| Hazard level | B |
| Scrap min | 14 |
| Max. scrap | 18 |
| Max. external power | 8 |
| Max. internal power | 12 |
| Possible weather | Rainy, stormy, flooded, eclipse, foggy |
31-March
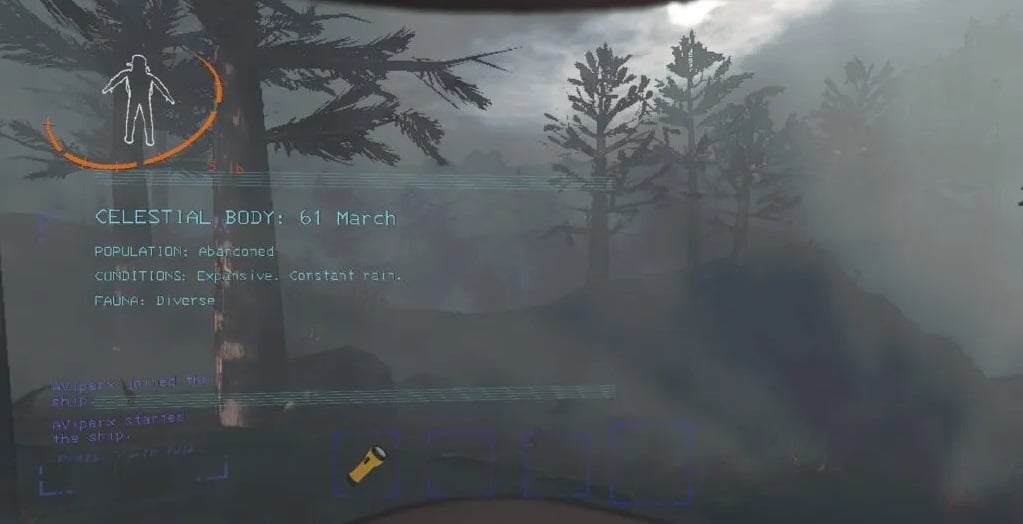
31-March is here the largest moon of the game, in almost constant rain.
Its wildlife is very diverse, and its The danger level varies by area : calm on one side, deadly on the other. The large size of this map makes navigation difficult.
Always keep an eye on the terminal to help you navigate and plan for the weather.
| Moon: 31-March | |
| Hazard level | D/B |
| Scrap min | 13 |
| Max. scrap | 17 |
| Max. external power | 12 |
| Max. internal power | 14 |
| Possible weather | Rainy, flooded, stormy, foggy, eclipse |
Level 3 Moons
These are the the toughest Mondays, but they are also the most lucrative in the game. They orbit white dwarf stars in distant solar systems.
Frozen, rocky, and inhospitable, they offer in return the highest haul.
Save them for an experienced and well-equipped team.
85-Rend
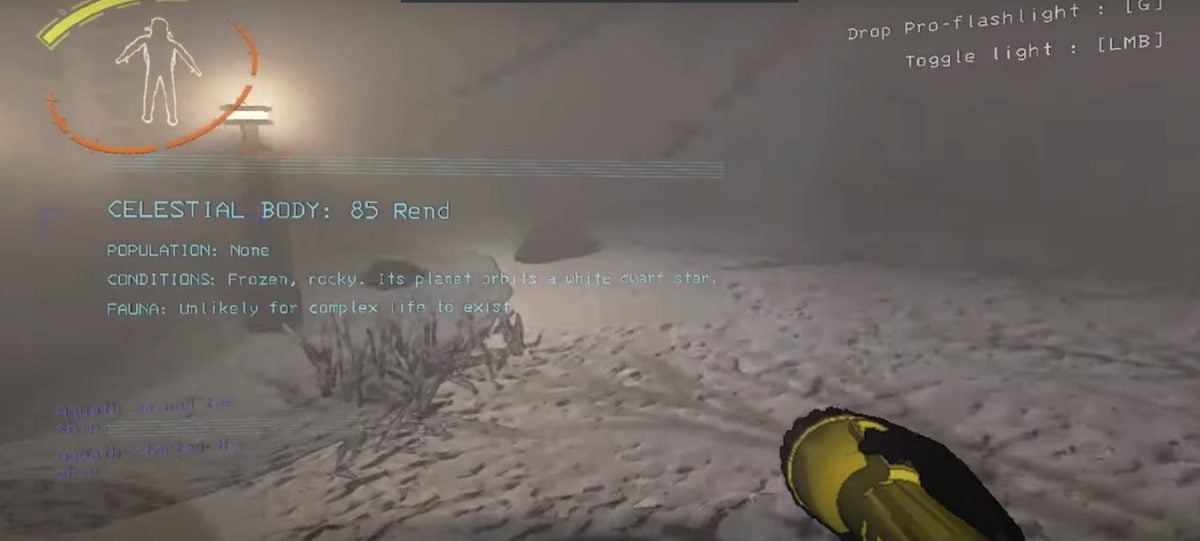
85-Rend is the game's coldest, icy and hostile. Don't be fooled by the apparent calm on the surface: the real danger comes from the interior map.
Sa maximum inner power of 10 announces a number of entities far higher than previous levels. Snow and extreme temperatures make every outing more challenging.
Some interior areas look like a manor house with narrow, dark hallways that will disorient unprepared teams.
| Moon: 85-Rend | |
| Hazard level | HAS |
| Scrap min | 18 |
| Max. scrap | 26 |
| Max. external power | 6 |
| Max. internal power | 10 |
| Possible weather | Eclipse, stormy |
7-Dine

7-Dine looks like 85-Rendbut in more deadly. It is even colder, darker, and more isolated.
Sa Maximum inner power rises to 15, which makes it a inside card formidable with a number of entities among the highest in the game. The snow and darkness combine to make every exploration exhausting.
His maximum reject rate of 28 offsets the risk for well-equipped teams.
| Moon: 7-Dine | |
| Hazard level | S |
| Scrap min | 20 |
| Max. scrap | 28 |
| Max. external power | 6 |
| Max. internal power | 15 |
| Possible weather | Eclipse, Flooded |
8-Titan
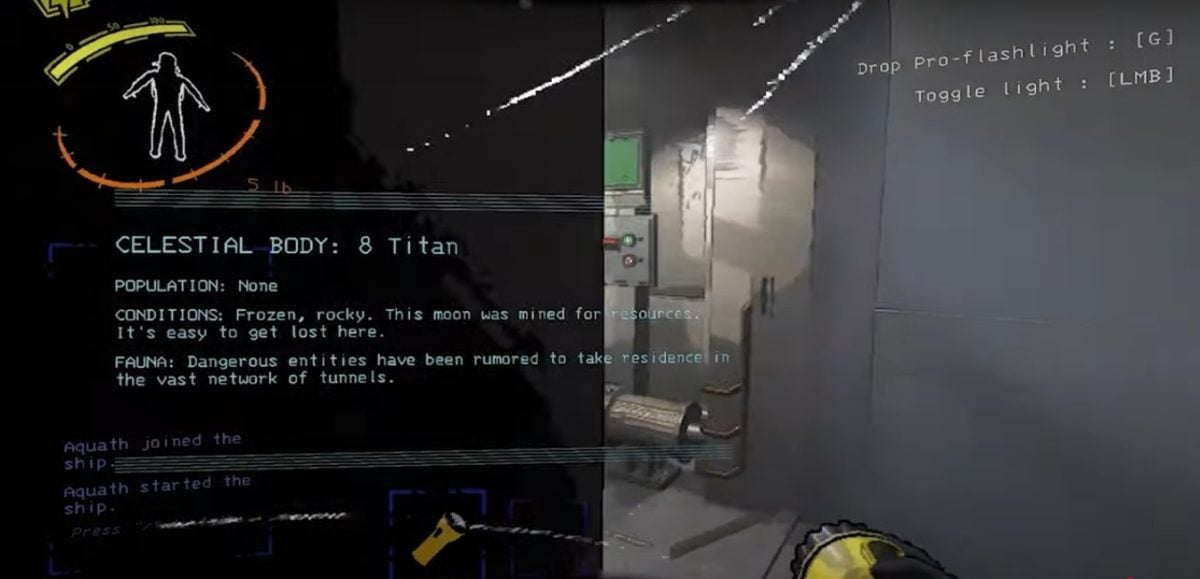
8-Titan is the moon that is the most mysterious and terrifying of the game, even though the smallest card.
Exploited for its resources, it is riddled with underground tunnels which make navigating the interior very complex. It’s easy to get lost there, and dangerous entities have made their home there.
The layout of the interior map, near a vast manor house The underground terrain throws even experienced teams off course. Snow completely covers the surface, making it difficult to find one's bearings.
It will cost you 700 credits from the terminal. The The domestic threat level there has risen to 18 : Save this for a team that's really well-coordinated.
| Moon: 8-Titan | |
| Hazard level | S+ |
| Scrap min | 23 |
| Max. scrap | 38 |
| Max. external power | 7 |
| Max. internal power | 18 |
| Possible weather | Eclipse, stormy, foggy |
To learn more, check out which is the best moon for profit in Lethal Company in another guide on our website.
FAQs
What does the classification of moons in Lethal Company ?
Moons are classified into three levels of difficulty. This classification helps you choose where to land based on your experience.
- The moons easy : less dangerous, with fewer enemies and less loot. Perfect for beginners.
- The moons intermediaries : harder to explore, but with more valuable items to be found.
- The moons difficult : the most challenging in the game. Their extreme conditions make navigation difficult, and you have to pay credits to get there.
As for the access fee, it is paid once per orbit change. If you return to the same moon several times without changing your orbit, you won't no more need to pay.
This division into three equal parts remains a Community Convention. In practice, each moon has its own individual danger rating, and the difficulty is more of a continuous spectrum.
What do minimum and maximum scrap mean?
Each card has a minimum and maximum number discarded items that may appear during a game. The value of these items is random and depends on the moon's loot table.
Even though a moon generates a lot of objects, you might come across pieces of low value as well as on highly profitable parts. As a general rule, a high maximum scrap rate announces a value of the loot more interesting overall.
What does the maximum power of each moon mean?
Each moon has a maximum power indoor, outdoor, and daytime. This value determines the number of entities that can appear simultaneously on the map, depending on their respective power levels.
In practical terms, an inner strength high means a inside card teeming with monsters. This is the case with 85-Rend or of 8-Titan, where the apparent calm on the surface should by no means lull you into a false sense of security.
What are the weather conditions on the moons in Lethal Company ?
When you look at the list of moons at the terminal, you may sometimes notice a weather condition in parentheses after the name of the moon. These conditions range from a minor inconvenience to a major problem. Here's what each weather condition means:
| Weather | Details |
| Rainy |
|
| Flooded |
|
| Stormy |
|
| Foggy |
|
| Eclipse |
|
others guides on Lethal Company are available on the website. Feel free to check them out.







 FR
 RU
 EN
 ES
 IT
 DE
 ZH
 PT
 ID
 JA
 DA