Première Pro is an editing software that allows you to create several video and audio projects. This software is widely used by professionals in the field of video editing. It is possible to undertake several possibilities on Première Pro. In this article, we will see how to add an audio fade on Premiere Pro?
This explanatory video shows you in detail the processes to follow to add an audio fade on Première Pro:
How do I add an audio fade to a Premiere Pro project?
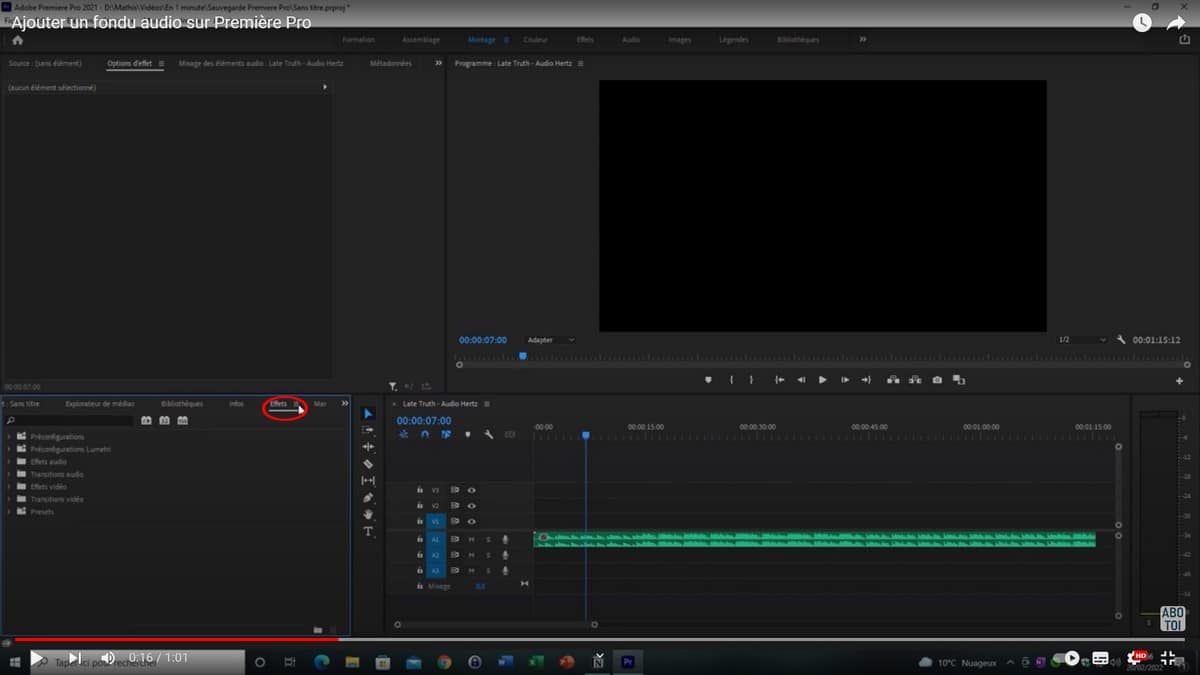
In this part, we will see the steps to follow to add an audio fade on Premiere Pro with illustrations to better help you:
- First, go to the software;
- Then, import an audio track on the Premiere Pro Timeline (this audio track will be the one you are going to add an audio fade to);
- Next, click on Effects;
- In the Audio Transition window, click Crossfade;

- On the scrolling list, choose the type of fade you want, and drag it either to the beginning of the track, or to the end;
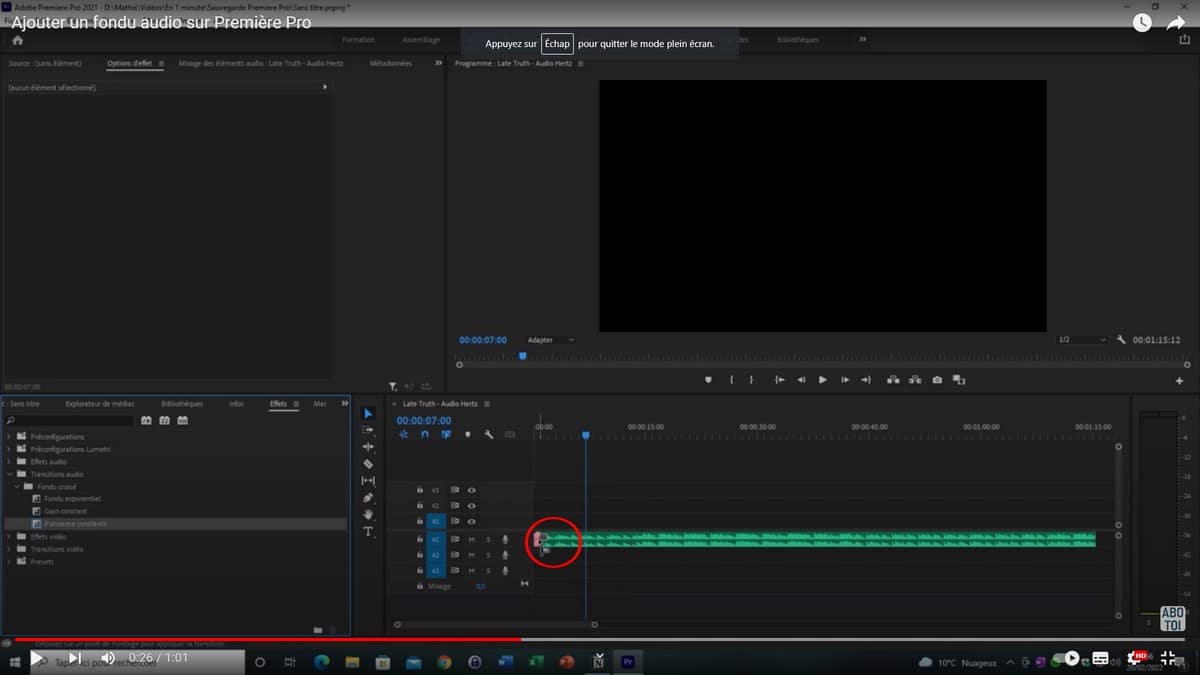
- If you want to have more effect, click on the end of the track, then choose the duration according to your convenience;
- You can also lengthen or reduce the fade to go faster.
Thanks to this technique, your sound will gradually decrease or on the contrary, it will gradually increase depending on the place of the fondue chosen at the beginning. This technique that we have shown will help you make good progress and not waste too much time creating your project on Première Pro.